Skill Level:
Crafting Time:
Technique(s):
Material(s):
Category:
Tag(s):
Share This Craft
Search Crafts
Christmas Cut & Sew Plushies

What better way to add a bit of whimsy to your home’s holiday decor than with some festive plushies? These adorable, cuddly fellas are quick to make—simply cut and sew! Then set these squishy, 14" tall pillows on a sofa, armchair, in a child’s bedroom, or even in a classroom. We guarantee they will make you smile whenever you see them.
These exclusive Christmas characters were designed by the Northpole.com elves and are available for purchase through Spoonflower.com. Spoonflower is a fabric printing company that prints custom-designed textiles on-demand. That means you can buy all sorts of neat items that you won’t find in your local fabric shop—such as our polar bear, penguin, and reindeer!
When purchasing the fabric, we recommend selecting Basic Cotton Ultra (shown in our photos). While you may choose any fabric you like, be aware that the colors vary based upon the fabric type. If you’d like something softer than cotton, Minky fabric is a good alternative. With our custom Northpole.com fabric in hand, you can easily make one (or all three!) plushies today.
Supplies & Tools:

- Fat quarter of Reindeer Plushie fabric*
- Fat quarter of Penguin Plushie fabric*
- Fat quarter of Polar Bear Plushie fabric*
- Scissors
- Pins
- Poly-Fil®, 32 oz. bag
- Sewing machine
- White thread
- Hand sewing needle
*Please note: Spoonflower prints fabric to order, so it may take up to 7–8 days (for standard delivery) to receive your fabric.
Directions:
- Lay fat quarter on flat surface.
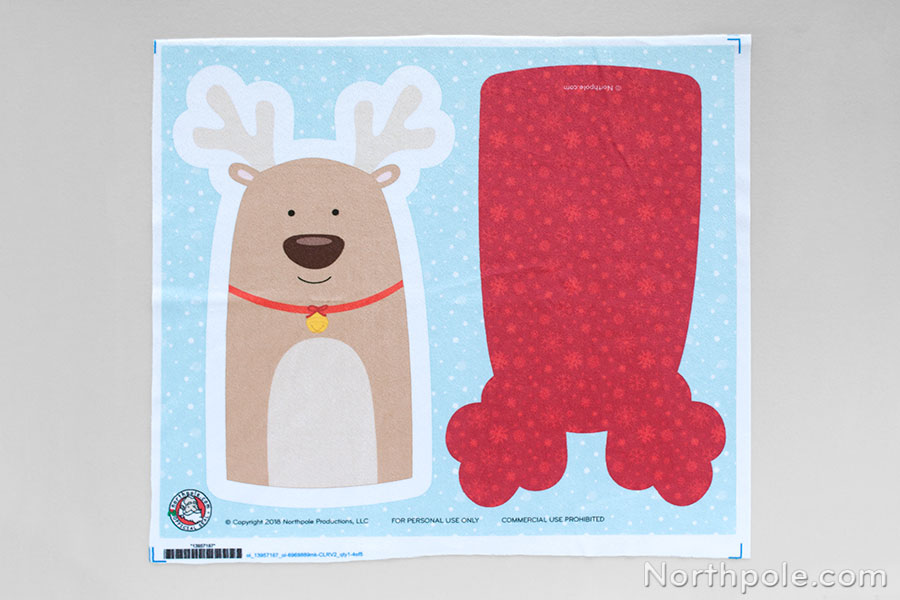
- Cut out the front and back.
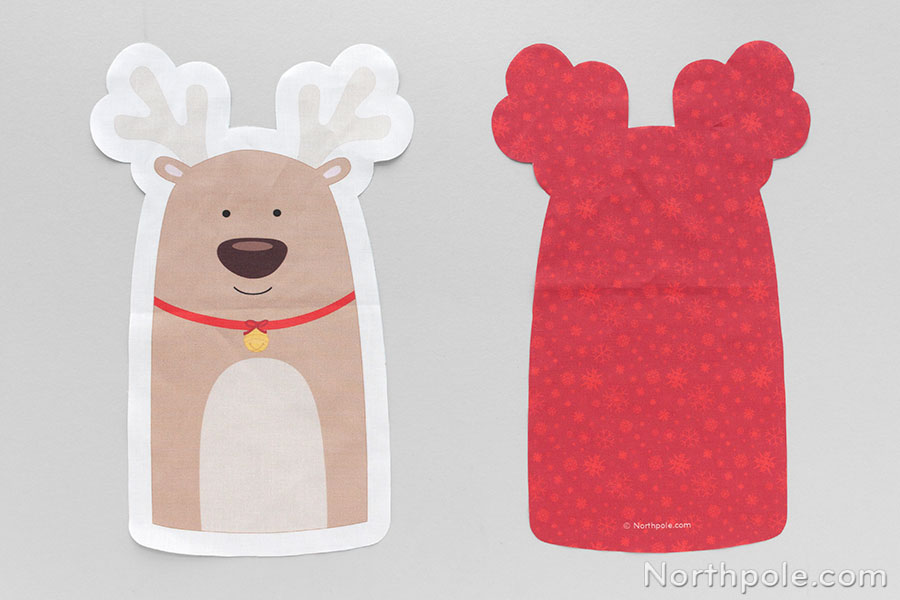
- Stack the front and back pieces together, right sides facing.
- Pin the pieces together.
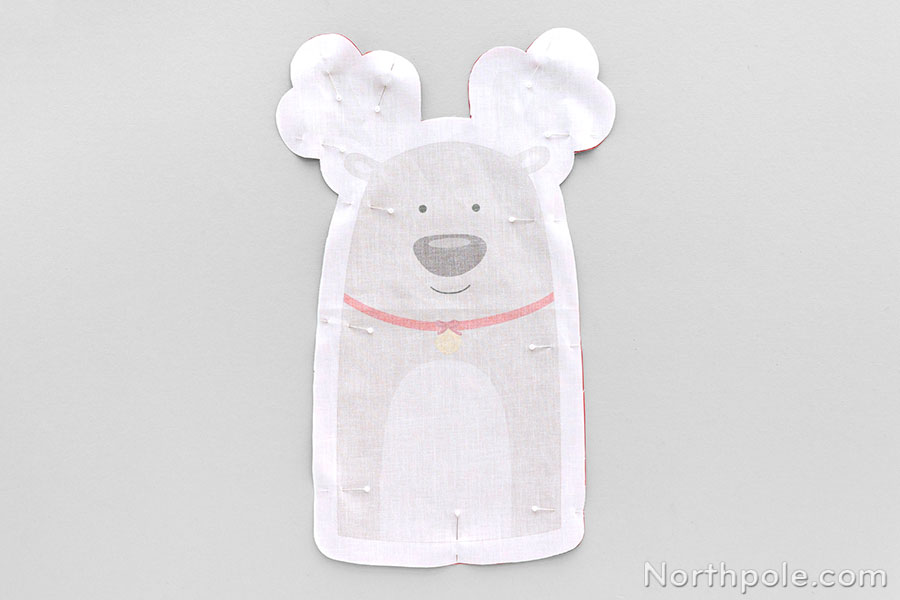
- Sew around the pieces using a 3/8" seam allowance. Leave a 3" opening to turn the plushie right side out.
Note: It’s best to leave the opening on a straight edge, such as along the animal’s side.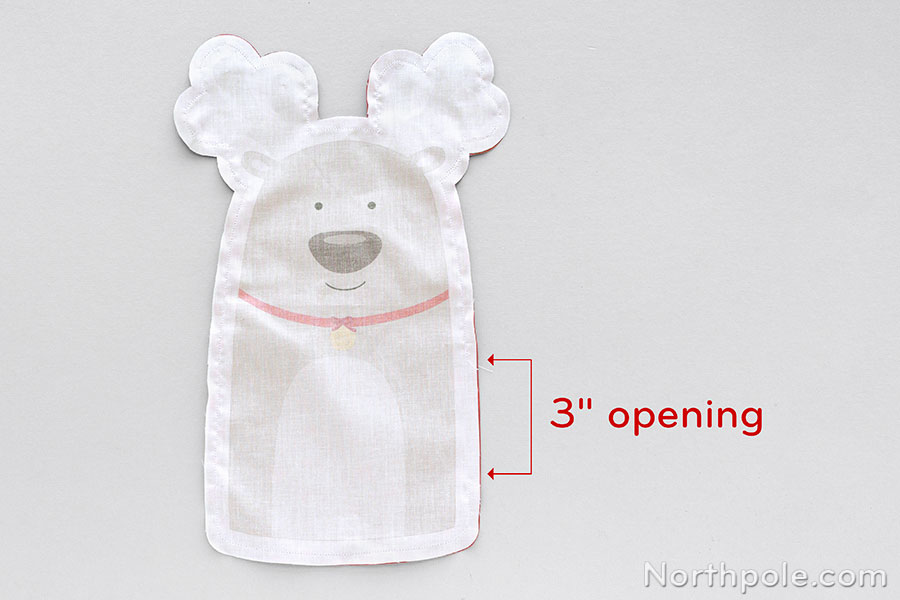
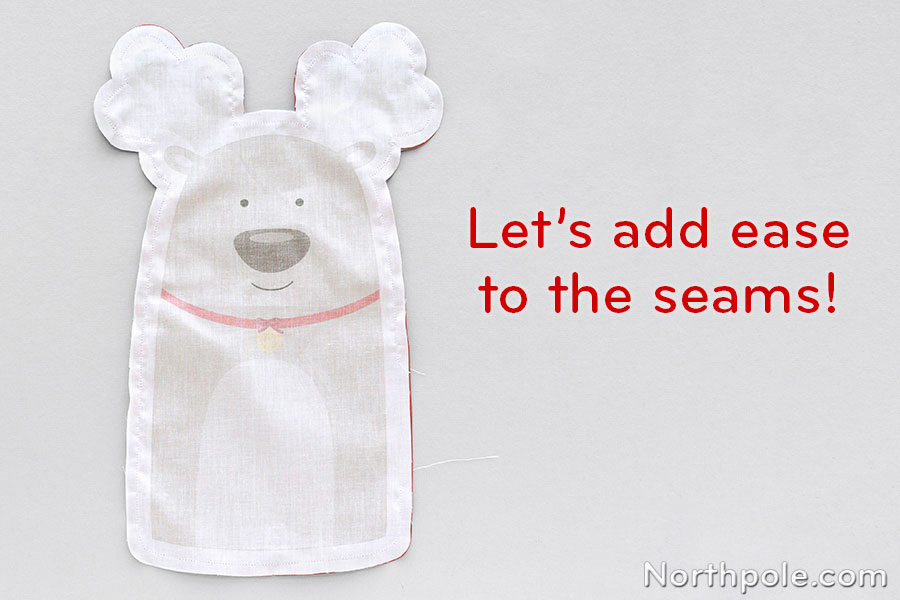
- Snip notches (little triangles) along curves and clip the corners to add ease into the seam allowance. Be careful not to cut the seam. If you do accidentally cut the thread, immediately sew over the line and back tack to lock the stitches.
- Fold back both sides of the opening’s seam allowance and finger-press the fabric, making a crease. This crease will help you more easily and neatly sew up the opening in step 10.

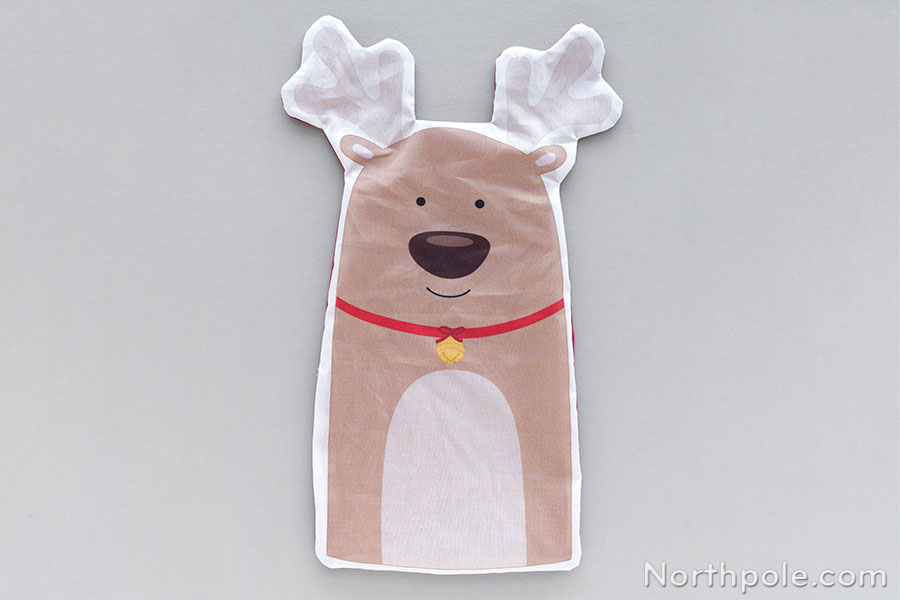
- Turn the plushie right side out. When you insert your fingers into the opening, grab fabric on the opposite side. Since our opening was close to the bottom of the reindeer, we pulled the antlers through first.
- Fill with Poly-Fil.
Note: When filling the reindeer, first stuff the antlers, then proceed to fill the body. Likewise, fill the penguin’s pompom and the bear’s ears before stuffing the body. This way, your plushies’ extremities will have a nice shape, instead of being limp or deflated.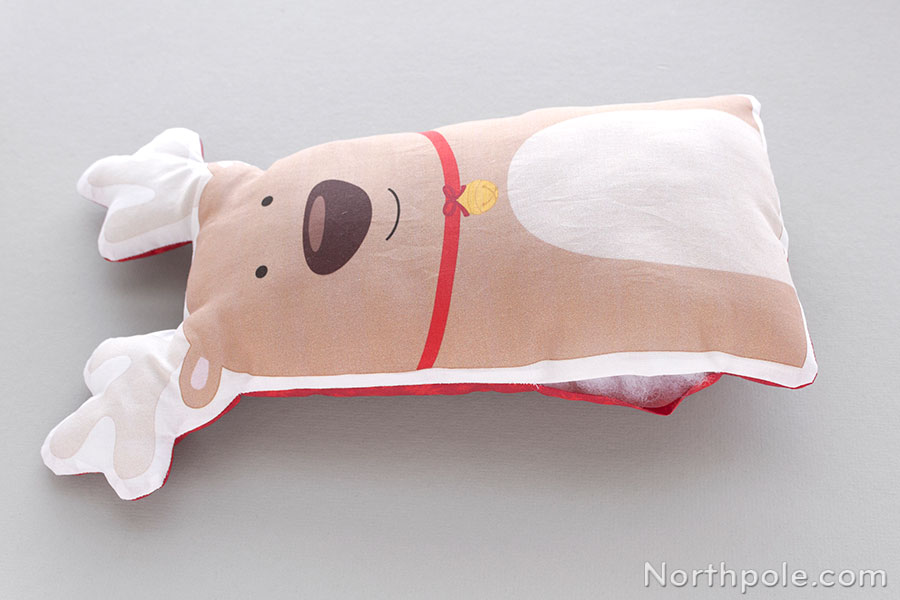
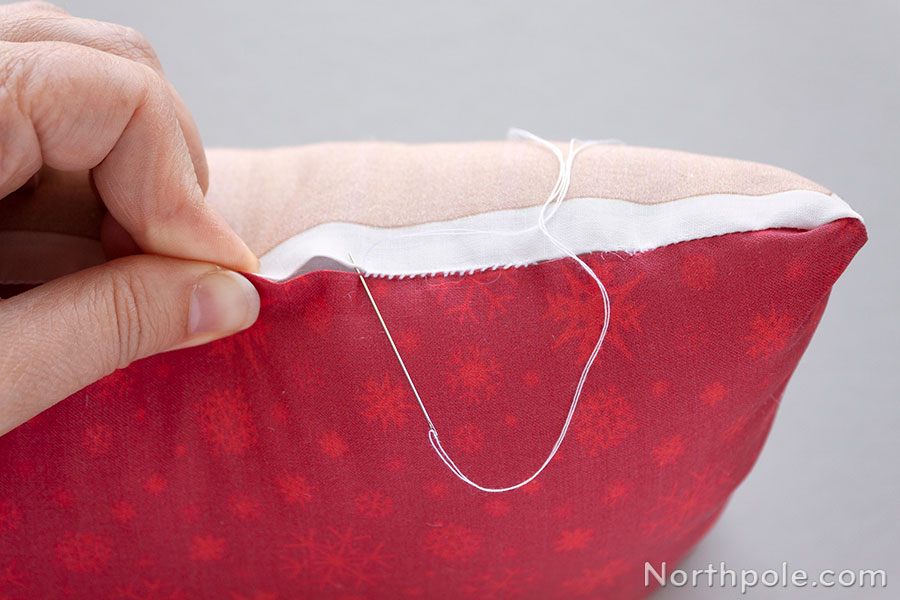
- Now, line up the creases of the seam allowance that you pressed in step 7. Grab a needle and thread, and stitch up the opening by hand. We used a whip stitch, but you can use whatever stitch you’re most comfortable with.
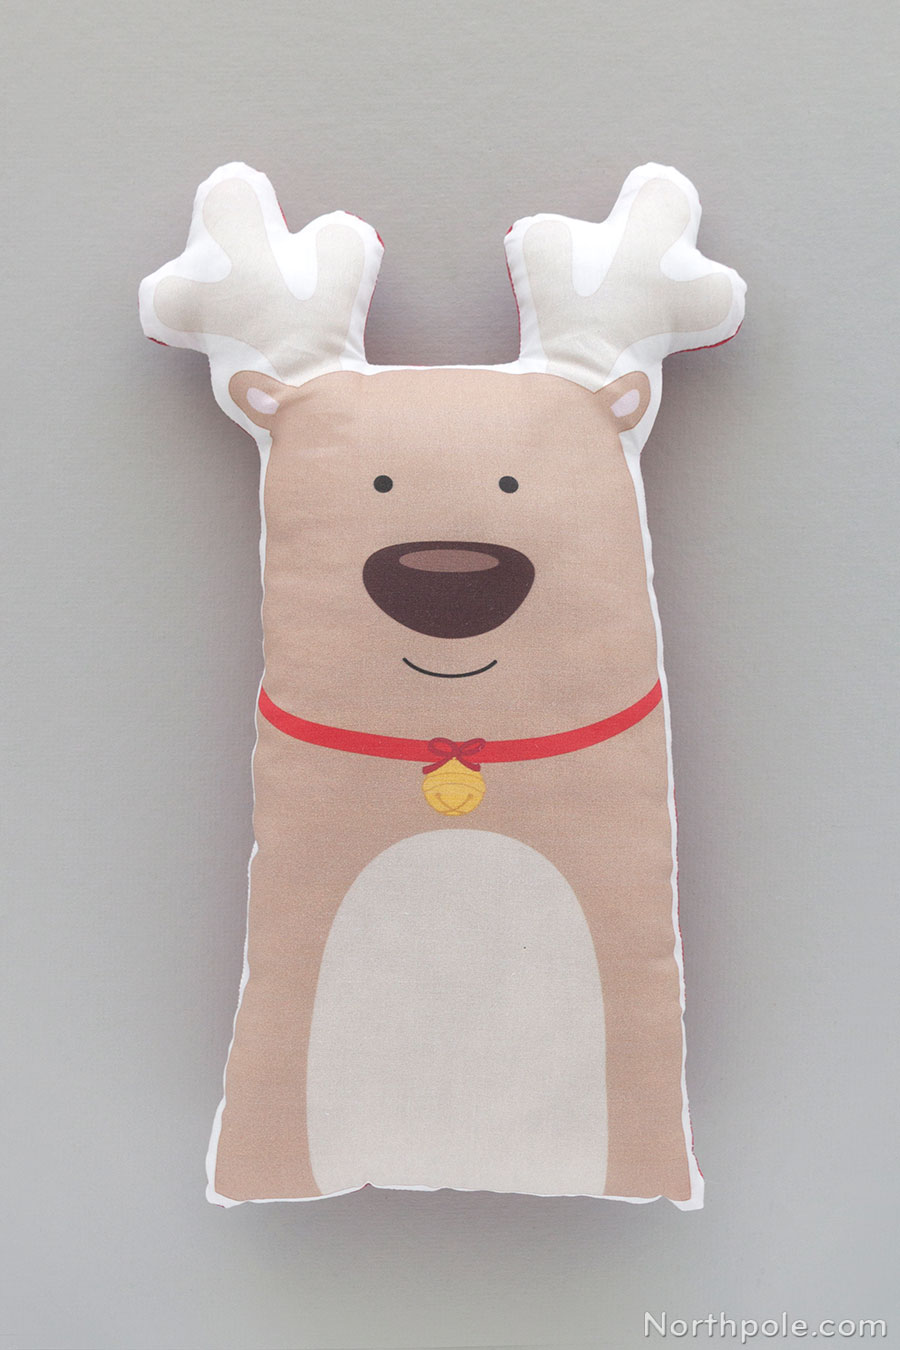
- Your reindeer plushie is complete.
- Repeat steps 1–10 for both the penguin and the polar bear.
- Now you have an adorable trio of Christmas plushies!