Skill Level:
Crafting Time:
Technique(s):
Category:
Tag(s):
Share This Craft
Search Crafts
Easy Beeswax Candles

Wipe away your kids’ wintertime blues with this fun activity using beeswax. Your children won’t need any fancy equipment or supplies—basically just their hands and some beeswax sheets. Plus, these candles are practically mess-free. (Only a little waxy residue will get left behind on their work surface, so make sure to put down a placemat.) Once your children get started, they’ll be as busy as bees creating candles that they’ll be proud to give as gifts or use at Christmas dinner!
Supplies & Tools:

- Beeswax sheets, assorted colors, cut into 16.5" x 3" strips*
- Cotton wick*
- Scissors
- Mini cookie cutters, such as these from Wilton
- Plastic placemat, plastic cutting board, or cutting mat
- Optional: hair dryer**
- Optional: washi tape
*We recommend buying a beeswax candle kit that contains beeswax sheets and ample wick, such as this kit. The beeswax sheets in that kit are 16.5" x 8", and an adult can cut each of the large sheets into strips. In this craft, we’re making 3" tall candles, and you can easily make 2" candles with any leftover strips of beeswax.
**Beeswax softens with the heat of your hands, but slightly heating the beeswax with a hair dryer makes it easier to roll. If you live in an especially cold climate or if your room temperature is on the chilly side, you’ll need a hair dryer.
Directions:
- Cut a piece of wick that is 4" long. Mark the top of the wick with a piece of washi tape (or tie a knot). You want to make sure the wick is pointing the correct direction before making your candle.
Note:The wick included in your candle kit should specify which end is the top. - Place beeswax on the placemat with the short side facing you.

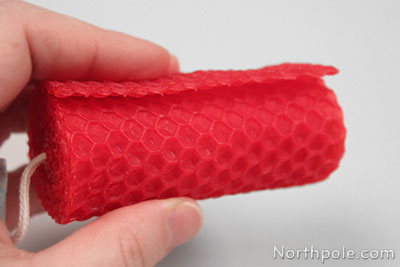
- Lay the wick along the short edge of the beeswax, then press and wrap the edge around the wick.
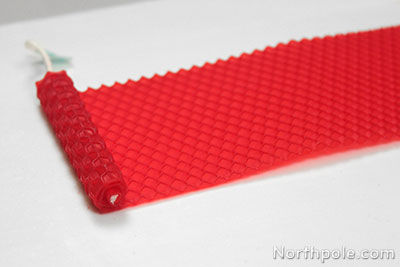
Note: If the beeswax is brittle and breaks, heat it with a hair dryer. Once the beeswax is warm, it’ll be easier to roll.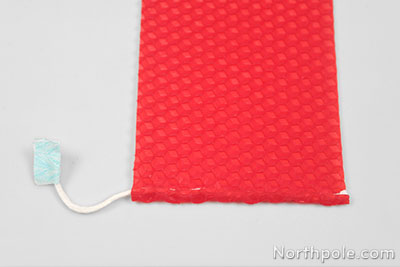
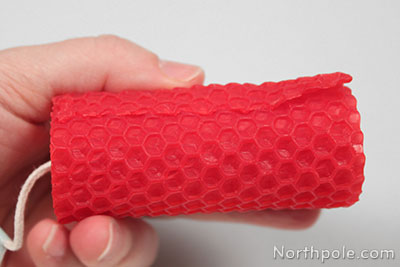
- Continue rolling the beeswax, applying even pressure and making sure the bottom of the candle is lined up with the rest of the beeswax sheet.
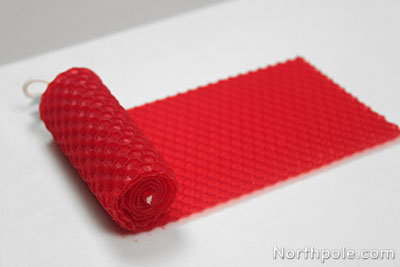
- Once you finish rolling the candle, smooth out the edge of the beeswax by pressing it into the side of the candle.
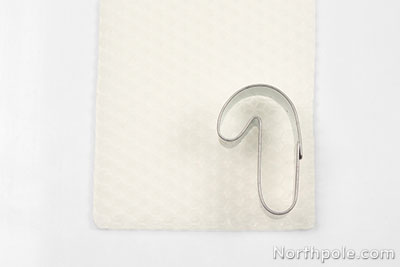
- Set the candle aside and place a different color beeswax on the placemat. Cut out a shape with a small cookie cutter.
- Gently remove beeswax from the cookie cutter, then press it onto the candle.
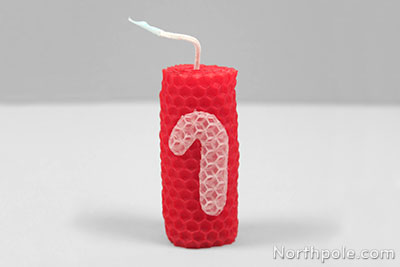
- Trim the wick to 0.25".
- If desired, embellish your candle with extra bits of wax. We added stripes onto our candy cane.
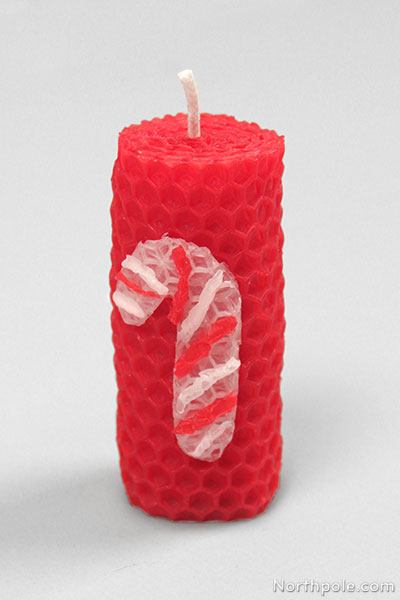
- Now your candle is finished. Have fun making candles in other colors and with different decorations! See below for some inspiration from the elves.


Companion Craft for Adults:
Hey parents! While your child is rolling their beeswax candles, you can make your own with a few fancy, yet surprisingly simple embellishments. Click here for the instructions.

Surprisingly Simple Embellished Beeswax Candles