Skill Level:
Crafting Time:
Technique(s):
Material(s):
Category:
Tag(s):
Share This Craft
Search Crafts
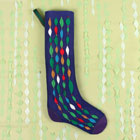
Elf Shoe Stocking

Add whimsical flair to your fireplace and Christmas decor with a stocking inspired by our elf shoes. Simply choose your favorite festive fabric and channel your inner elf as you make this stocking. This elf-approved stocking is so darn cute, you may end up wanting to sew one for each member of your family. Use different holiday fabrics or add some glitter glue or appliques to personalize each stocking.
Supplies & Tools:

- Printable template (download here)
- 0.5 yard Christmas fabric
- 0.5 yard muslin
- 5/8" wide ribbon, 10" long
- Thread, any color that coordinates with your fabric
- Needle
- Scissors
- Super sharp fine tip scissors, like these Fiskars scissors
- Marker
- Tape
- Straight pins
- 10mm Christmas bell
- Iron
Directions:
- Print the template.
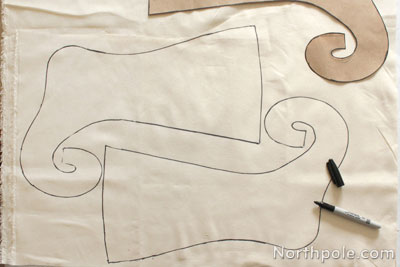
- Cut out the template pieces, then tape together, overlapping the shaded tabs. Set template aside.
- Iron the Christmas fabric and the muslin to remove any wrinkles.
- Place the pattern on the muslin and use a couple pins to hold the pattern in place. Trace the stocking shape with marker. Remove pins, then repeat steps to trace another stocking shape.
- Remove pins and set pattern aside. Cut out the stocking shapes.
- Lay Christmas fabric on work surface. Place stocking pattern on the fabric, pin in place, and trace with a marker. Remove pins.
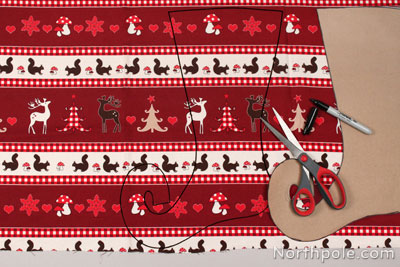
- Now flip the template piece over and lay it on the fabric. Pin the template in place, then trace with a marker. Remove pins and set template aside.
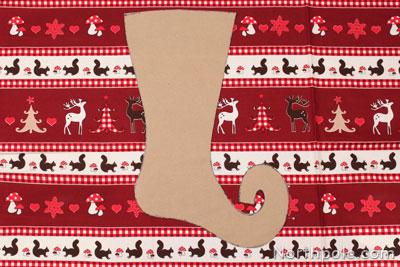
- Cut out the stocking shapes from the Christmas fabric.
- Lay each patterned stocking piece on your work surface facing up. Lay one muslin stocking piece on each patterned stocking piece. Line up the edges in each pair and pin along the top edge of each pair.
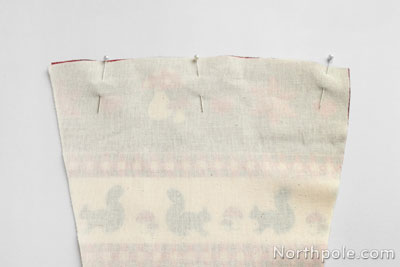
- One at a time, sew along the top edge of each pair using a 0.25" seam allowance. Remove pins and trim threads.
Note: Align the edge of the fabric with the presser foot for a 0.25" seam allowance.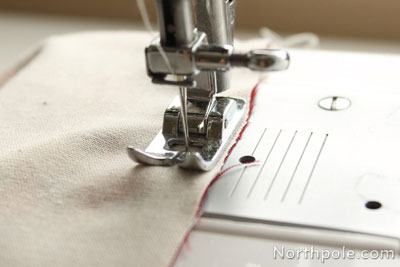
- Trim the corners of the fabric above the seam.

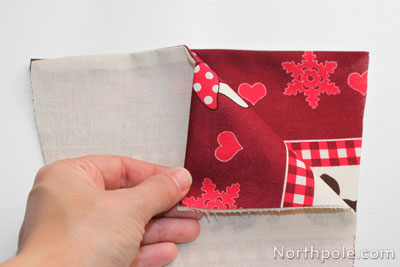
- Turn the fabric right side out and press the seam. Repeat for the other pair of stocking shapes.

- Once you’ve turned and pressed both stocking pairs, stack them together, right sides together.
- Take the ribbon and fold it in half. Pin it between the stocking pairs near the top of the stocking, as shown. The loop of the ribbon should extend above the top of the stocking.
- Add pins all the way around the stocking to hold the pieces together.
- Begin sewing the stocking using a 0.25" seam allowance. Back tack at the beginning to lock the stitches.
- Continue sewing the stocking. Be sure to sew slowly and carefully around the curves so that you get smooth curves.
Note: Sewing around the really curly part of the toe is kind of tricky, and chances are, your fabric isn’t perfectly lined up. That’s a-okay! Use a wider seam allowance—three-eighths should be good here. We’ve taken this into consideration in the template, and the curly part will actually look better if the seam allowance is wider on the toe.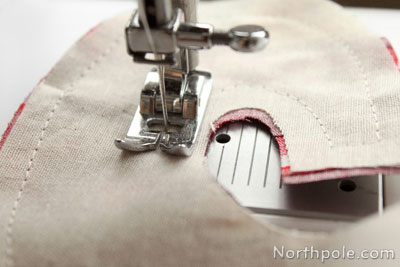
- As you finish sewing, back tack to lock the stitches. Remove pins and trim the thread.
- Now we’re going to cut darts (little triangles) along the curves of the stocking. This will keep the stocking from looking lumpy once it’s turned right side out. Since there are so many curves on this stocking, here’s an efficient way to cut your darts:
- First, using your super sharp chisel tip scissors, snip little cuts in one direction. Be VERY careful not to cut the seam. If you do accidentally cut the thread, immediately sew over the line and back tack to lock the stitches.
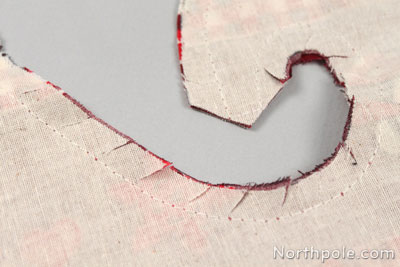
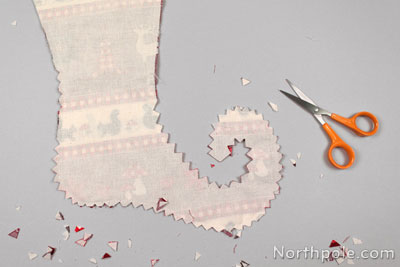
- Then snip little cuts in the opposite direction to cut out little triangles from the fabric.
- First, using your super sharp chisel tip scissors, snip little cuts in one direction. Be VERY careful not to cut the seam. If you do accidentally cut the thread, immediately sew over the line and back tack to lock the stitches.
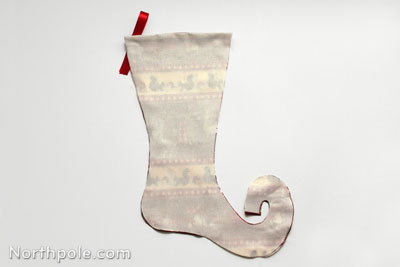
- Turn the stocking right side out. The curly toe part is a bit tricky, so take it slow and work it out gently.
- Press stocking with an iron.
- Using a needle and thread, sew a little Christmas bell on the tip of the toe.
- Once the bell is in place, hide the thread by poking the needle inside the toe and out through the other side of the stocking.
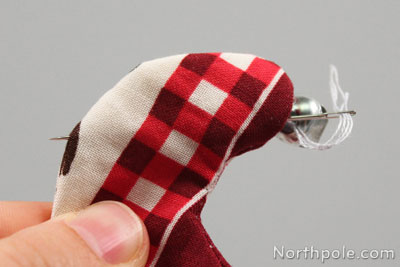 Pull the thread tight so that the fabric scrunches a little bit, and then cut the thread close to the stocking. Scrunching the fabric slightly will cause the thread to disappear when the stocking’s toe returns to its original shape.
 - Now your elfy stocking is ready to hang!