Skill Level:
Crafting Time:
Technique(s):
Category:
Tag(s):
Fun to Make with Kids
Sizzix
Sparkly
Share This Craft
Search Crafts
Iron-On Christmas Lights Shirt

Disclosure: We received the Sizzix® products used in this craft for free. All words and opinions are our own. For our full disclosure, click here.
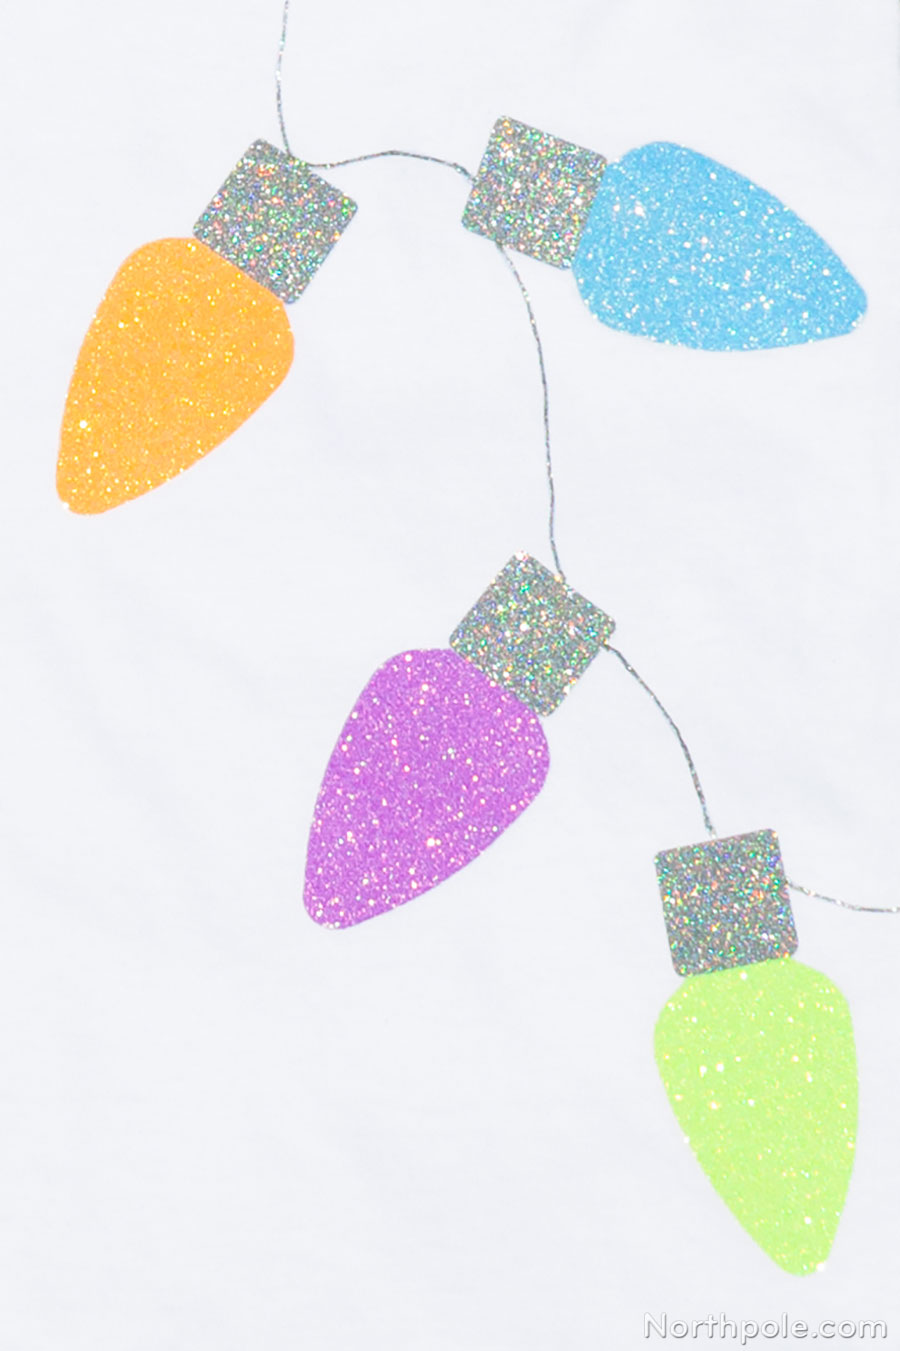
Decked out with a strand of multi-colored Christmas lights, this festive tee is great way to show your love of Christmas whether the holiday season brings you sunshine or snow. Not only are the neon colors perfect for sporting your Christmas cheer during a heatwave, but the light bulbs are also glittery!
In this tutorial, we will easily be making the light bulbs using heat transfer vinyl (HTV). HTV is great for customizing shirts, totes, pillows, and other textiles, as the design possibilities are endless. The sheets of heat transfer vinyl are somewhat large, and you will have a lot left over if you only make one shirt. So, why not round up your best buds for a t-shirt making crafternoon? After all, crafting is always more fun with friends!
Supplies & Tools:

- Siser® glitter heat transfer vinyl (HTV): silver confetti, neon purple, neon blue, neon green, neon yellow, neon orange, and neon pink
- T-shirt(s)
- Silver glitter fabric paint
- Sizzix Big Shot Plus Machine & included Cutting Pads*
- Sizzix Bigz Die – Christmas Light #3
- Scissors
- Washi tape
- Parchment paper
- Iron
- Solid, heatproof surface, such as a wooden cutting board**
*We used the Big Shot Plus machine, however, you can use the regular Big Shot machine to accomplish this craft.
**To get the HTV to properly adhere to the fabric, you must iron it on a sturdy, solid surface, so do NOT use an ironing board.
Directions:
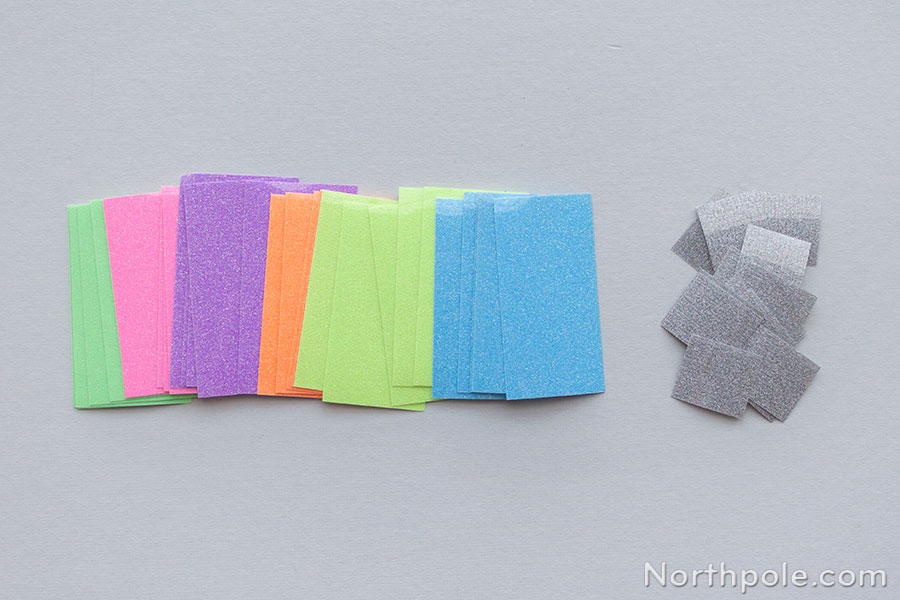
- The sheets of glitter HTV are pretty large (20" x 12"), so we cut them down to fit over the die. (Cutting the sheets down also helps reduce waste, so you can get more bulbs out of one sheet of HTV.)
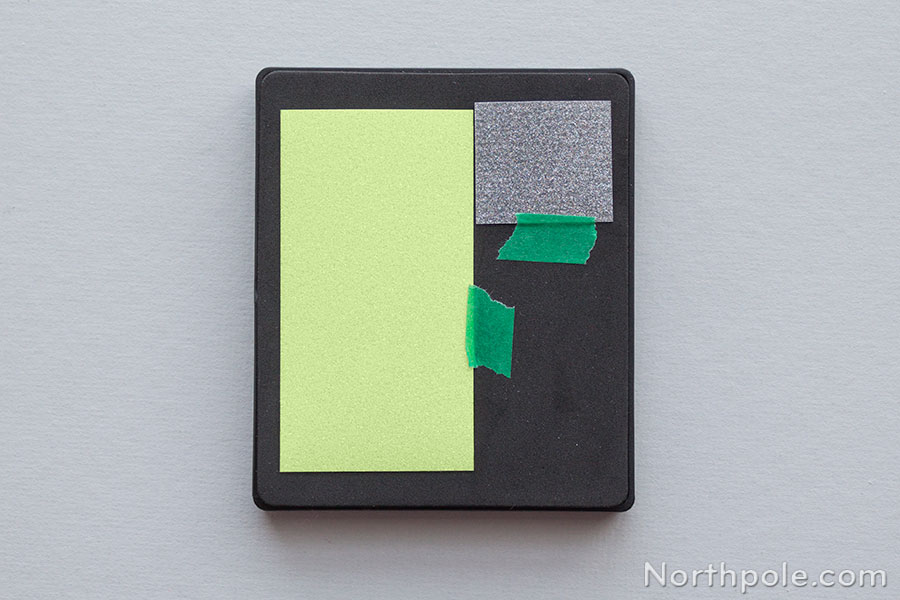
- Cut the colored sheets into smaller rectangles that fit over the bulb part of the die. Ours are 2.5" x 4.5".
- Cut the silver HTV into small squares that cover the base part of the die. Ours are 1.75" x 1.5".
- Place one colored rectangle and one silver square on the die and use a bit of washi tape to hold them in place.
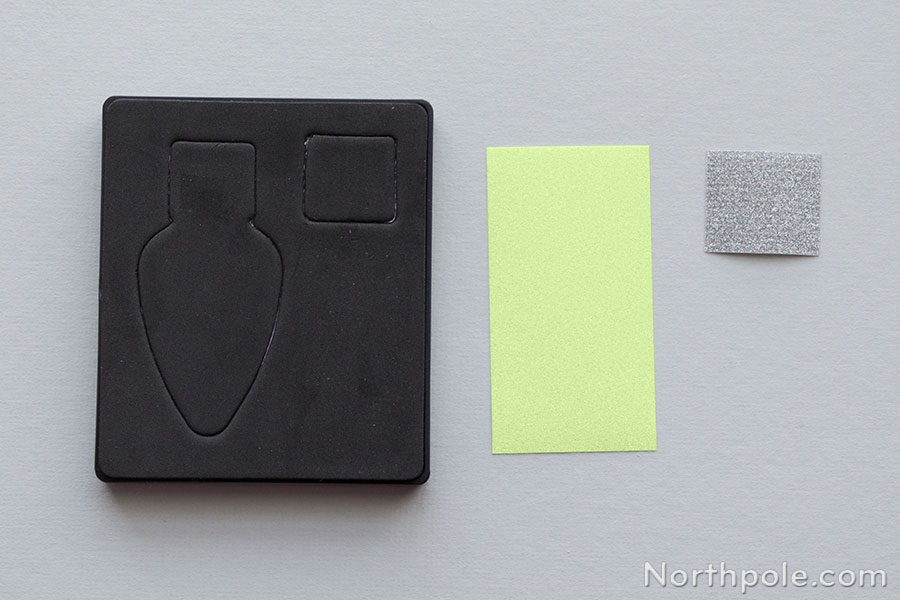
- Run the die through the Sizzix, and now you’ve die-cut your first bulb.
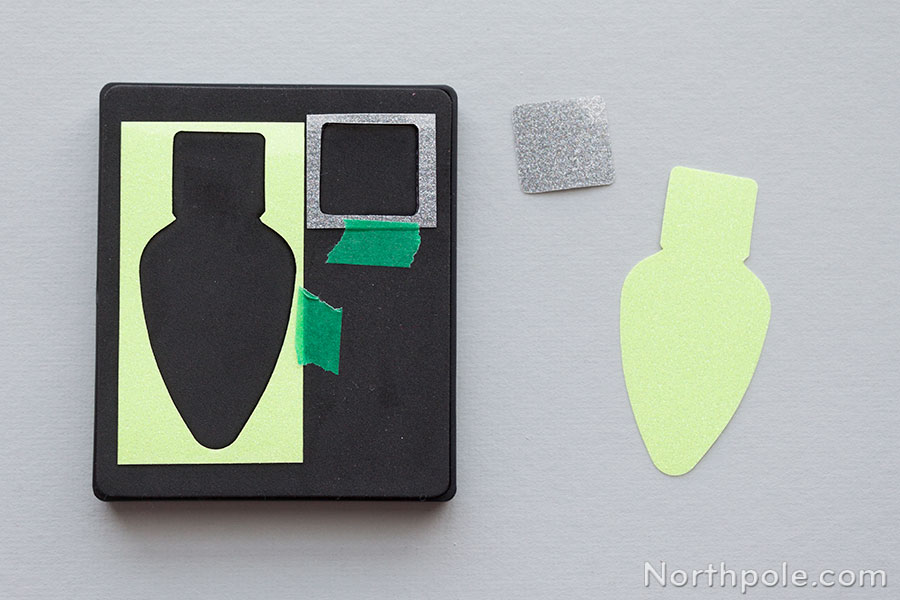
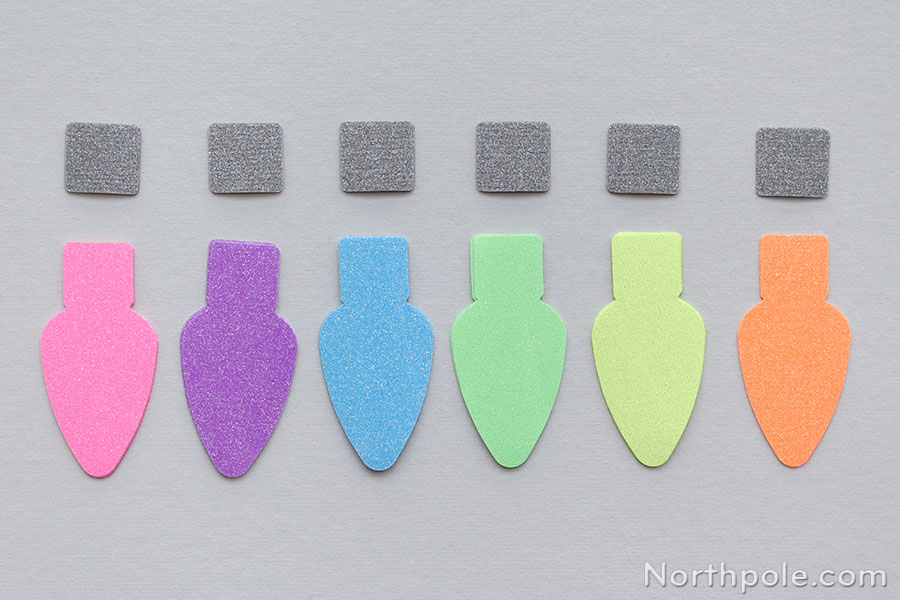
- Repeat steps 2–3 to cut as many bulbs as you like.
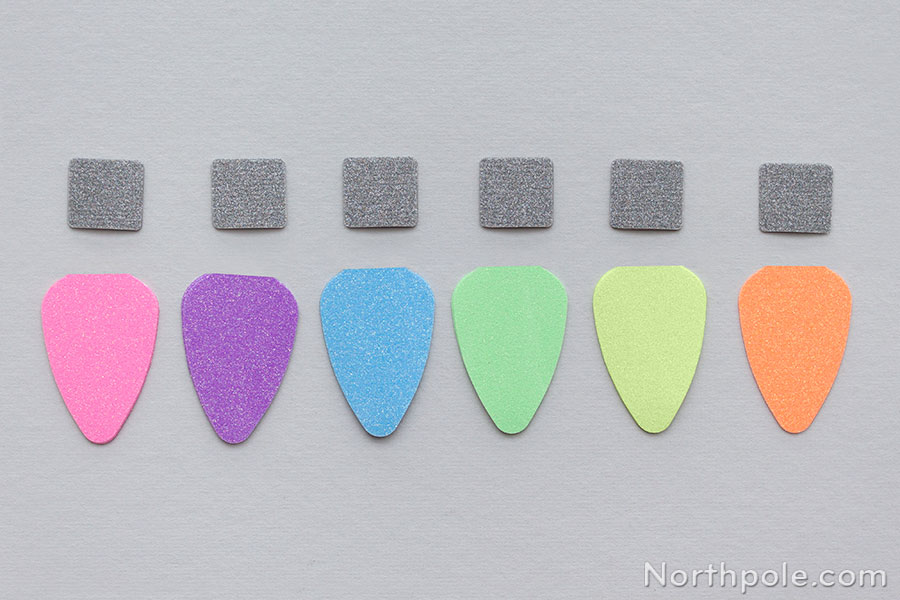
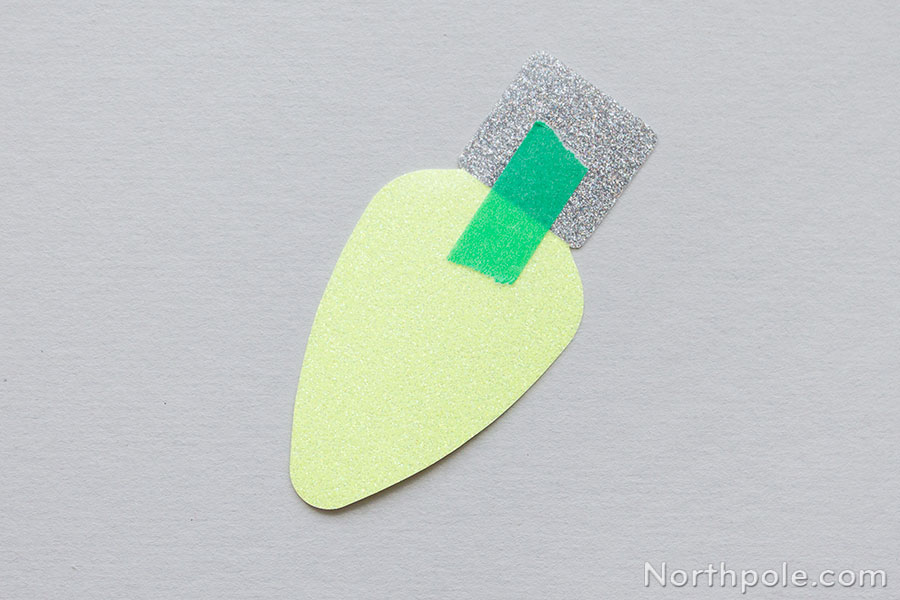
- Trim the colored base off each light bulb.
- Use a bit of tape to connect the silver base to the bulb. Make sure you place the tape on the film side of the HTV. (The film side is the glossy side.)
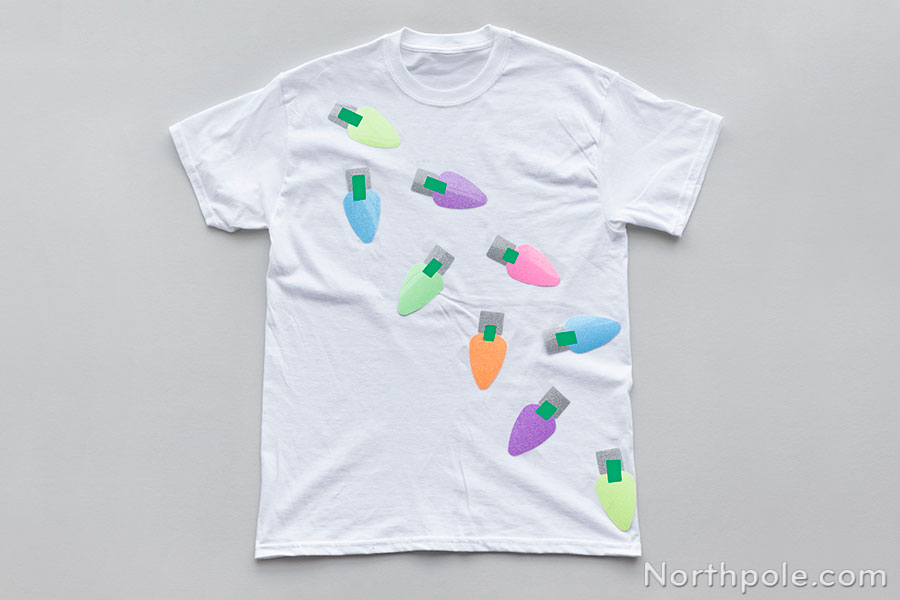
- Arrange bulbs on t-shirt to get an idea of how you want them placed before you iron them on. If desired, use your phone to snap a picture, so you can reference it in step 9.
- Place shirt on wooden cutting board.
- Iron bulbs onto the shirt, one at a time.
- First, remove a bulb from the shirt.
- Preheat that area of the shirt with the iron on cotton setting, no steam.
- Place the light bulb on the preheated area of the shirt, glossy side facing up.
- Cover the bulb with parchment paper.
- Without moving the iron around, press the iron down firmly on the bulb for 20 seconds.
Note: To determine whether the HTV is properly adhered, check the edge of the bulb. If the vinyl easily lifts off the shirt, use the iron to press the bulb for a few more seconds. - Allow the bulb to cool for a couple seconds, then peel off the transparent film while it is still warm.
- Repeat steps a–f for the rest of the bulbs.
- With all of your bulbs ironed on, it is now time to add the cord with glitter fabric paint. Before getting started, place parchment paper inside the shirt so that the paint won’t bleed through onto the back of the shirt.
- Draw a line with silver glitter fabric paint to look like a cord connecting all of the lights. Allow to dry.
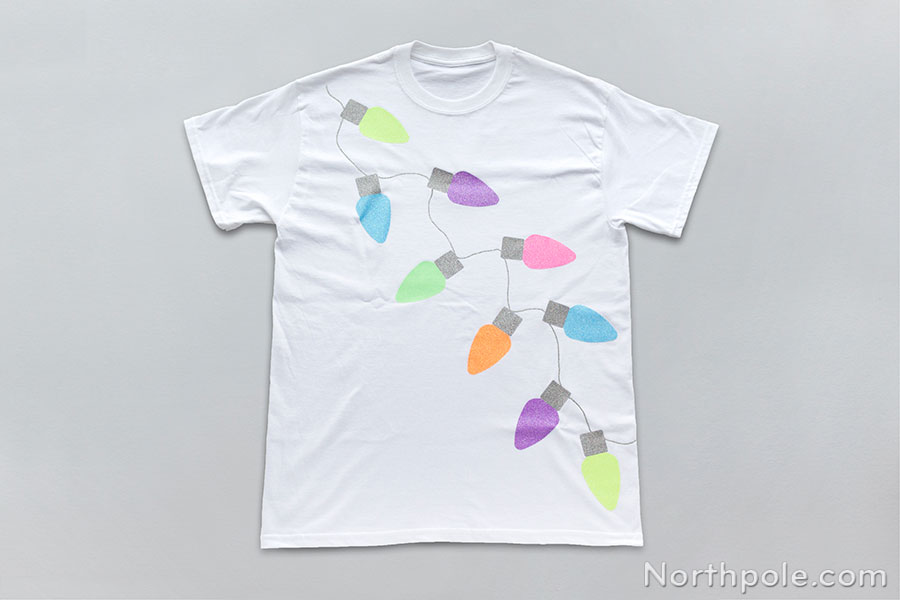
- Now you have a fun, festive shirt to sport your Christmas cheer in July or whenever you’re celebrating the holidays in warm weather!

Elfy Hints:
- If this is your first foray into crafting with heat transfer vinyl (HTV), the price of the HTV might seem somewhat hefty for one project. But with 8 sheets of HTV, you can make up to 13 shirts or save the leftovers for future projects.
- To wash your shirt, turn it inside out and wash on the gentle cycle with mild detergent.