Skill Level:
Crafting Time:
Technique(s):
Material(s):
Category:
Tag(s):
Fun to Make with Kids
Nifty & Thrifty
Sizzix
Share This Craft
Search Crafts
Temporary Ugly Christmas Sweater Stickers

If you need an ugly Christmas sweater for a contest at work or a holiday party, keep reading to find out how you can temporarily (!) transform any sweater in your closet into a tacky holiday sweater with some custom, removable stickers made from felt and tape. Best of all: when the party is over, simply peel off the stickers, and your sweater is as good as new!
Supplies & Tools:

- 2" wide double-sided tape
- Felt: assorted colors
- Scissors
- Optional: die-cutting machine & dies (We used our Sizzix® Big Shot Plus)
- Optional: marker
- Optional: hot glue gun & glue sticks
- Optional: pompoms, bells, glitter glue, other fun embellishments
Directions:
- Cover one side of felt with double-sided tape.
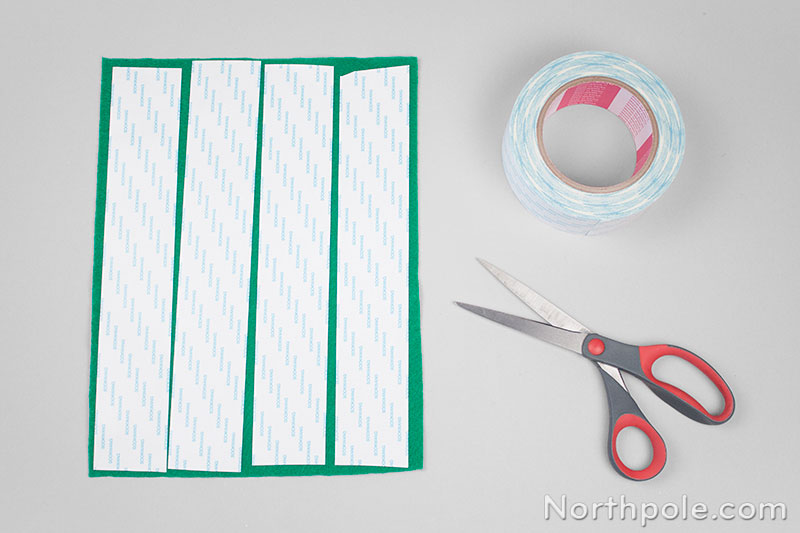
- Cut out festive shapes from the felt with scissors or a die-cutting machine.
You can draw your designs directly on the felt before cutting out with scissors if you like—or you can just freehand it.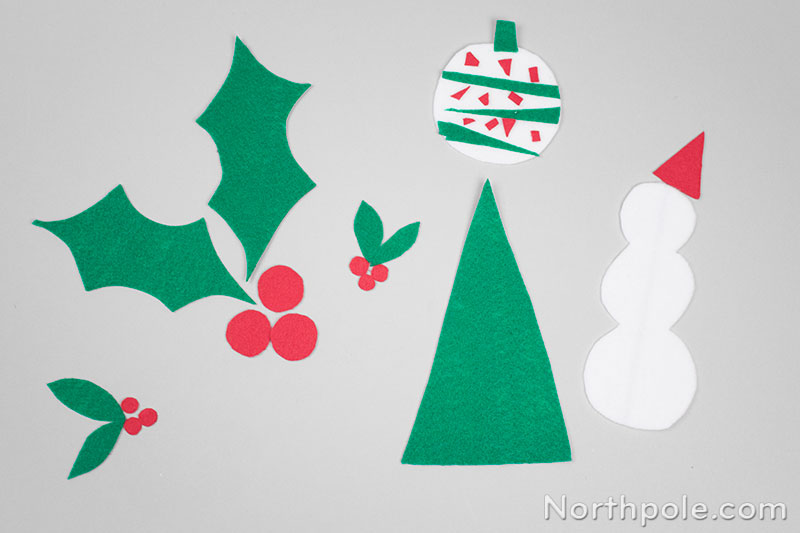
To create really intricate shapes or to easily produce a lot of the same shape, cut shapes with a die-cutting machine. We used a Sizzix Big Shot Plus and various dies to cut out snowflakes, poinsettias, reindeer, and flourishes.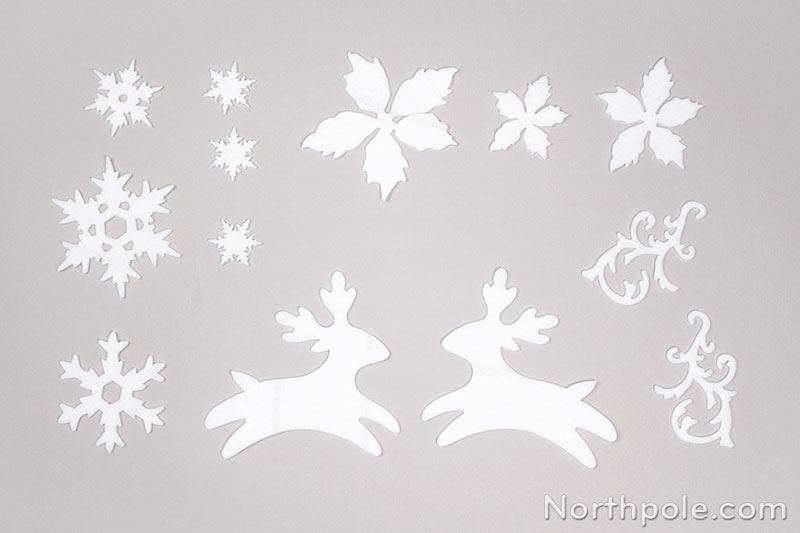
- Optional: If you want to get really crafty, start with a basic felt shape and then add other shapes to it. For example, here we started with a simple triangle backed with double-sided tape, then we hot glued leaves onto the triangle to create the tree. (The “leaves” are actually the petals of die-cut poinsettias.)
Die used: Layered Tattered Poinsettia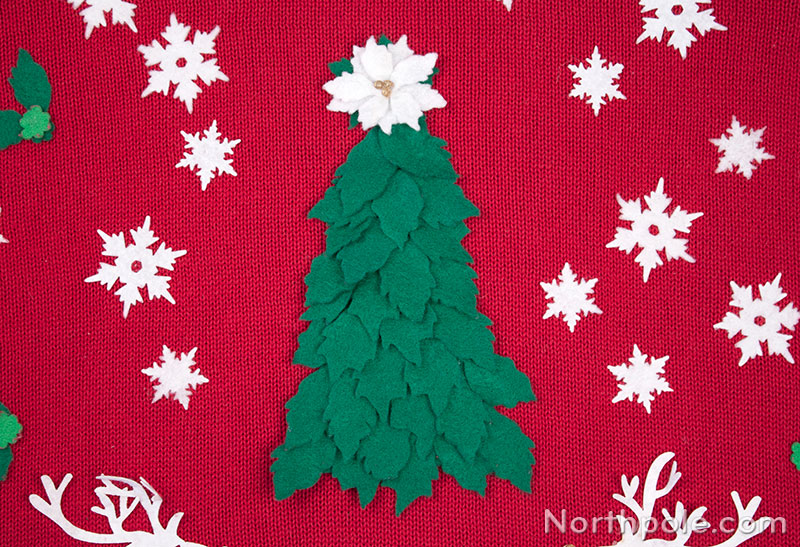
You could also make holly leaves by cutting petals off of die-cut poinsettias. Put two leaves together, then top with the “cloud” piece of the same die for the berry center.
Die used: Layered Tattered Poinsettia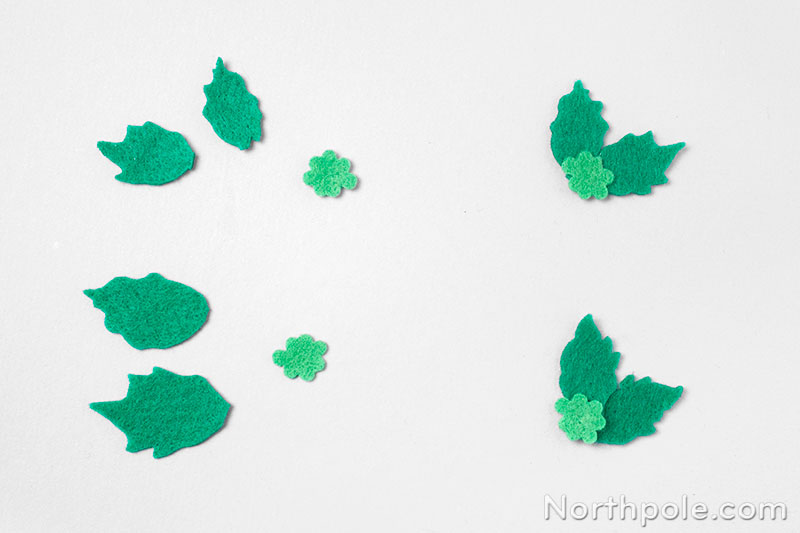
- Optional: Add any extra embellishments to your felt stickers, such as glitter glue, pompoms, bells, or whatever else you like. Allow glue to dry.
- Peel off the paper backing and press your stickers onto the sweater.
- Now your ugly Christmas sweater is ready to wear! When the party’s over, simply peel off the stickers.
Everything But The Kitchen Sink Sweater

For this wildly festive sweater, we started with an ugly sweater kit that included fringe, bells, bows, and pompoms, then we added lots of our own die-cut snowflakes and holly leaves, plus a Christmas tree. We also attached little bells to make the sweater jingle with movement.
Dies used: Layered Tattered Poinsettia, Stacked Snowflakes
Poinsettia Sweater

For a sweet sweater with holiday flowers, we die-cut red and green poinsettias from felt. We adhered small, medium, and large poinsettias all over the front of the sweater, placing green poinsettias (as leaves) underneath a few red flowers.
Dies used: Layered Tattered Poinsettia
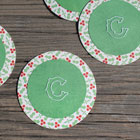
Layered Ornaments Sweater

With our method, it’s so easy to swap stickers to create a “new” holiday sweater! Here we made several ornaments by layering shapes. First, die-cut snowflakes and poinsettias, then hand-cut ornament shapes that are slightly larger. Adhere each snowflake or poinsettia to an ornament, then stick the finished ornaments on your sweater.
Dies used: Layered Tattered Poinsettia, Stacked Snowflakes
Merry and White Sweater

Simple white shapes always look nice, too! We livened up this sweater with plain white die-cut snowflakes and reindeer. To give your felt cutouts a little sparkle, decorate them with some glitter glue.
Dies used: Stacked Snowflakes, Reindeer