Skill Level:
Crafting Time:
Material(s):
Category:
Tag(s):
Share This Craft
Search Crafts
Whimsical Paper Garland
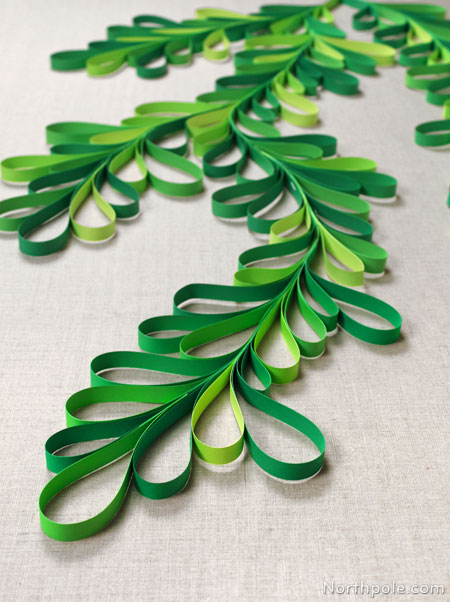
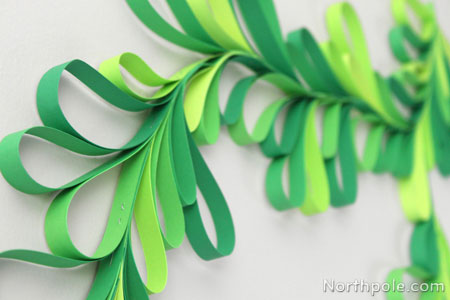
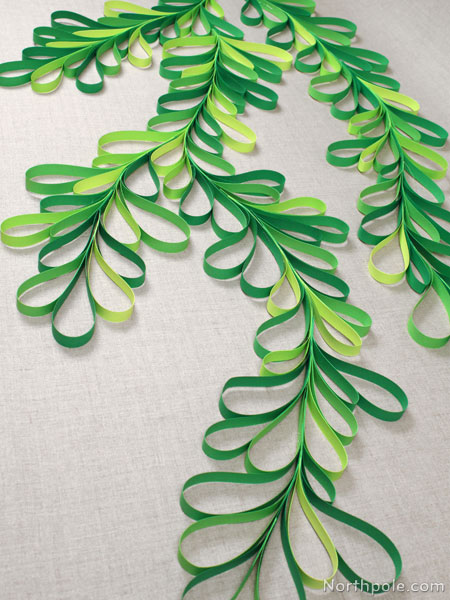
This fanciful paper garland is easy to make and can be customized to your taste by using any color cardstock. You could make a traditional green garland to hang around a door frame or over the mantel. Or mix it up and make several short pieces of “garland” from shades of blue cardstock to make icicles—picture dozens of blue and white ones hanging from the ceiling for a winter-themed party!
The key to making a beautiful garland is to use several different shades of one color that range from really light to really dark. The colors will harmonize, creating depth and making a beautiful paper garland.
Supplies & Tools:
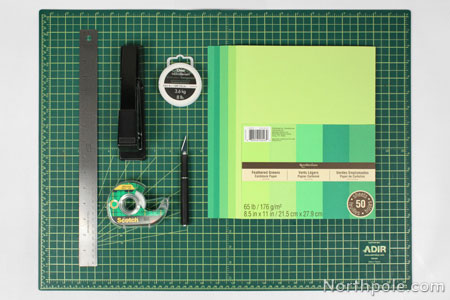
- Colored cardstock, 5 shades of one color*
- Stapler
- Cutting mat
- X-Acto
- Metal ruler
- Fishing line
- Tape
*You can find a cardstock multipack similar to this one at your local crafts store.
Directions:
- Place a piece of cardstock on cutting mat. Using the grid on the mat as a guide, cut along the long edge of the paper and cut into strips that are 0.5" wide. The amount of paper needed depends on the length of garland you want to make. To begin, we recommend cutting 15 sheets of cardstock.
- Bring ends of a paper strip together and staple the ends. Do not crease the paper. To work faster and to use less staples, you can staple 2 loops at a time.
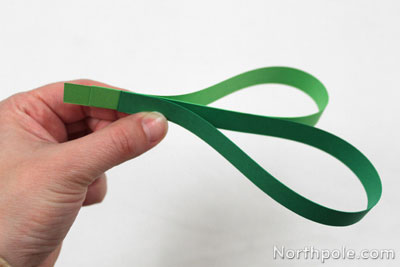
- To attach each additional strip, staple the new loop’s tail to the old loop’s tail. Continue adding paper loops, alternating colors and sizes.
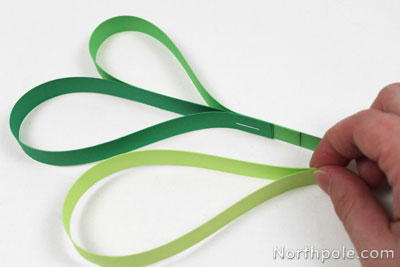
- As you add the paper strips—particularly when you form small loops—you will have a long “tail” sticking out. Don’t trim the paper; just continue adding loops. This “tail” acts as a spine, giving you something to which you can continue adding loops.
Note: With larger loops, you may not have enough of a tail to keep adding loops. To increase the length of a tail, don’t line up the ends of the strips—offset them instead.
- To add “branches,” make short pieces of garland and then staple each “branch” to the main garland as you would for a paper loop.
- Keep adding loops and “branches” until the garland is as long as you want.
- Trim the top of the garland.
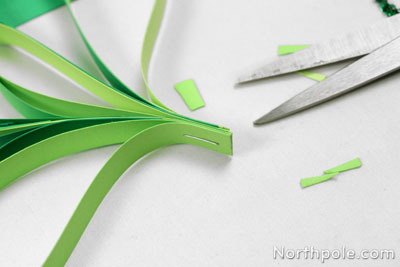
- Use fishing line and tape to hang the garland wherever you like.
Elfy Hints:
- Use fishing line as an invisible way to hang the garland.
- Stick thumb tacks or push pins in the door frame where it meets the wall. This will secure the garland and leave inconspicuous holes.
